To make ourselves accountable, Brandon and I decided that we would tackle one project a month this year. It’s nearly impossible to feel like we make any progress with two littles around, and time slips away so fast when you’re in the trenches of under 5 parenting. So this January we prioritized adding picture rail molding to our living room.
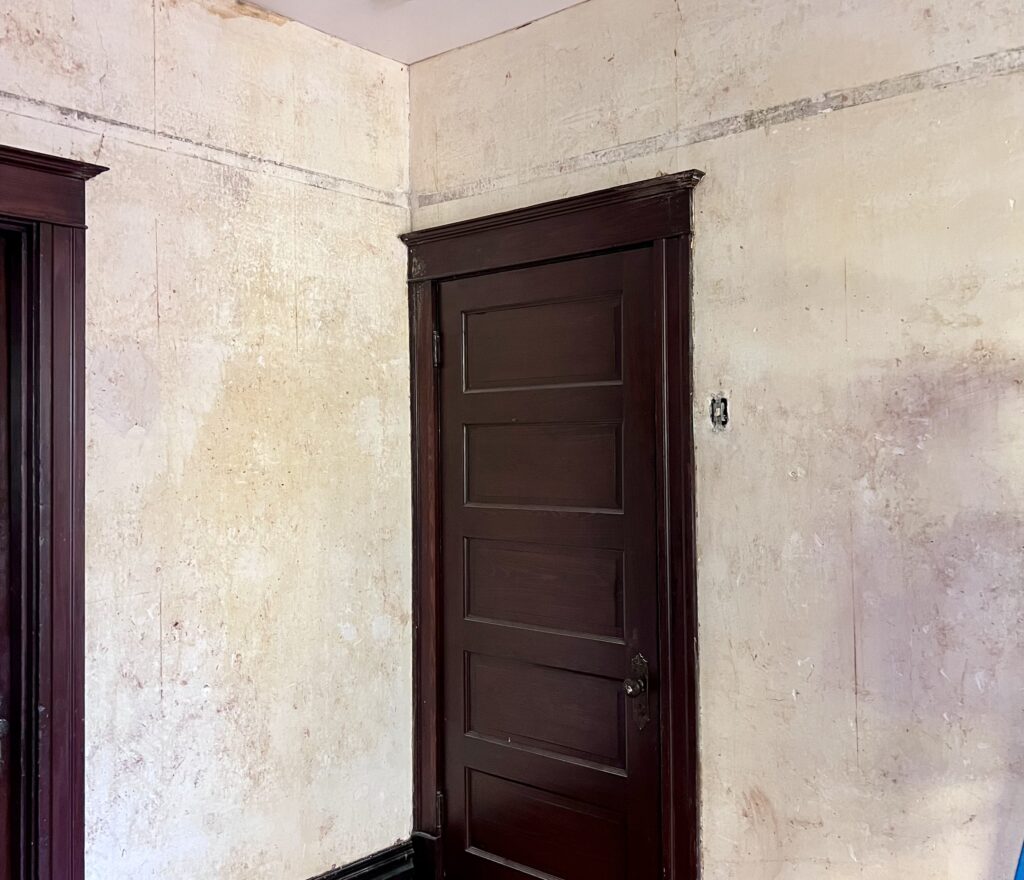
The first room we worked on after moving into our house was Wally’s room, which is directly above the living room. I spent hours peeling back paint layers on top of wallpaper to eventually uncover the bare original plaster. It was obvious that at one point, picture rail was installed and so we assumed there was a good chance it was installed in the living room as well.

I sourced the picture rail, measured the room and placed the order. That was over a year ago. In my defense, I was pregnant and in the newborn black hole for most of that time. Some of the procrastination also came from the fact that I wasn’t exactly sure how to adhere the molding to our outside walls. The inside walls are traditional plaster and lath, so it made sense to nail into the studs. But alas, there are no studs on the outside walls. Just plaster on top of brick. I didn’t know if 2” brad nails would go into the brick and hold, and I was reluctant to use adhesive. I scoured the internet for some sort of guidance, and didn’t come up with much other than screwing into the brick with masonry screws. Ughhhhhhhh. Instead of taking action and figuring it out as I went along, I decided to stew in my anxiety over doing permanent damage to our walls.
A year and a half after moving in, Brandon was insistent we finally get some artwork up on the walls to make our main living space feel cozier. As we’ve found with every project in this house, nothing is straight forward. There was definitely trial and error, but we came up with solutions that worked for us. Maybe they’ll be helpful to someone else with the same situation we faced.
Supplies:
- Picture rail (ours is no longer available but this is similar)
- Tape measure
- Studpop for plaster walls or stud finder for drywall
- Level
- Miter box or miter saw
- Caulk and caulk gun
- Paint & paint brush
- Putty
- Picture rail hooks (i like these too)
We purchased our picture rail from House of Antique Hardware, but unfortunately they no longer carry picture rail… like at all. I’ve linked an alternative that seems to be very similar to ours. It’s worth a shot to check out your local millwork shop as they most likely have it in stock, or can source easily. Big box stores are a NO GO. We chose the small colonial revival profile in pine, and though our house is not colonial, the height matched the imprint we found on Wally’s wall. I figured it was ornamental enough to fit the period of our house. Ours came pre-primed which was super helpful to speed up the process. If you purchase unfinished wood and want to paint, it’s better to prime before installing. You could also paint before installing, but we chose to do it after installation since we’d have to cover up putty and caulk anyways.
We started with the interior walls since we were sure our installation method would hold. You’ll want to use 2” brads or longer to reach through the molding, plaster and studs. Before attaching, we found the studs with the Studpop which proved to be more tedious than I initially thought. I’m not sure if my plaster is thicker than normal, but finding each stud was a journey. They weren’t uniformly 12”, 16”, 18” or 24” apart, but more like 12” then 14” then 15” then 11”. Needless to say, it was frustrating. A few studs were impossible so I had to go to the other side of the wall in our entryway to see if I could find studs there. I then measured the distance from the doorway and used that measurement on the living room wall to locate the studs. I stuck a piece of masking tape over each stud to mark it. Once all the studs were located, the next step was to dry fit each molding piece. The first wall consisted of straight cuts end to end. Easy peasy right? Nope. The corner of the wall curved a bit (no surprise there) so I used the coping saw to trim a sliver off the back so the railing would lay flush.

Before cutting the second piece, we secured the first to the wall. It’s almost always necessary to grab a partner while leveling and attaching the molding. Four hands are more accurate than two. With the first piece secured to the wall we took the measurement for the second piece which in hindsight we should have cut the end like the first piece. It did not lay flush at the corner and there was a lot of caulk involved.

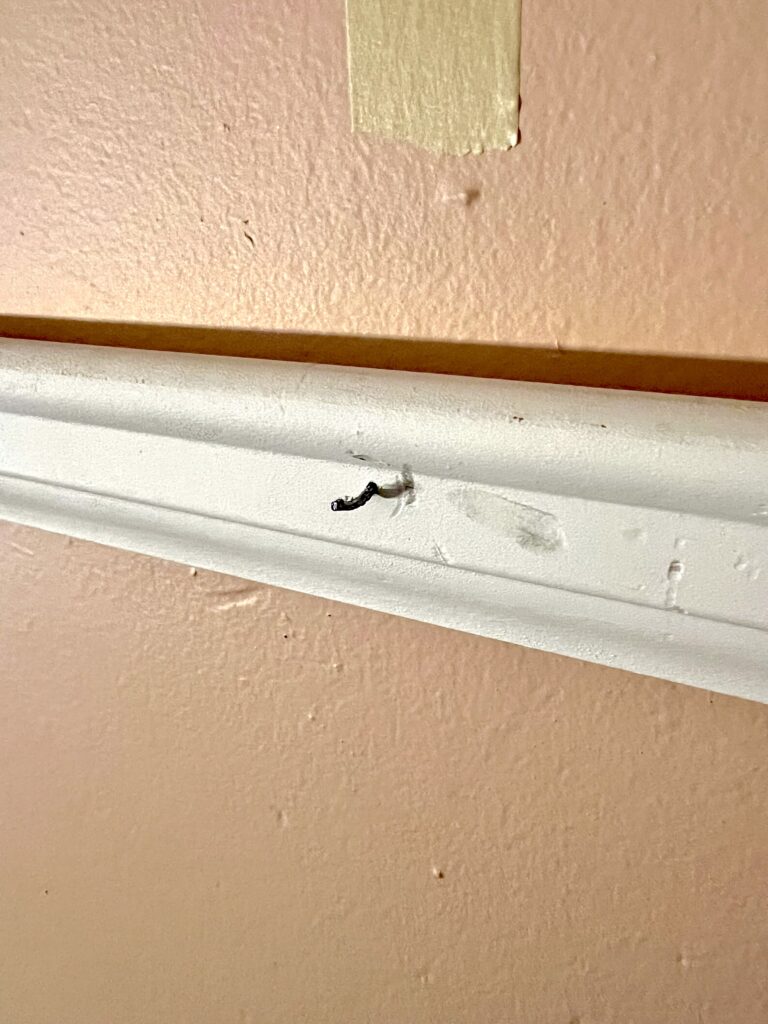
The second wall is where we made our first coping cut. I’m not going to go into the details on coping as there are many tutorials on YouTube. There’s definitely a learning curve so I advise practicing on a scrap piece. Working from right to left, we kept the left corner a straight cut much like the first wall and made our coping cut on the first piece of the outside wall. Here’s where things get murky. Since the outside walls do not have studs, we weren’t sure where to put our nails. We figured evenly spaced would be best, and tried our first mark. What do you know? The nail did not sit flush and stuck out a ½ inch.

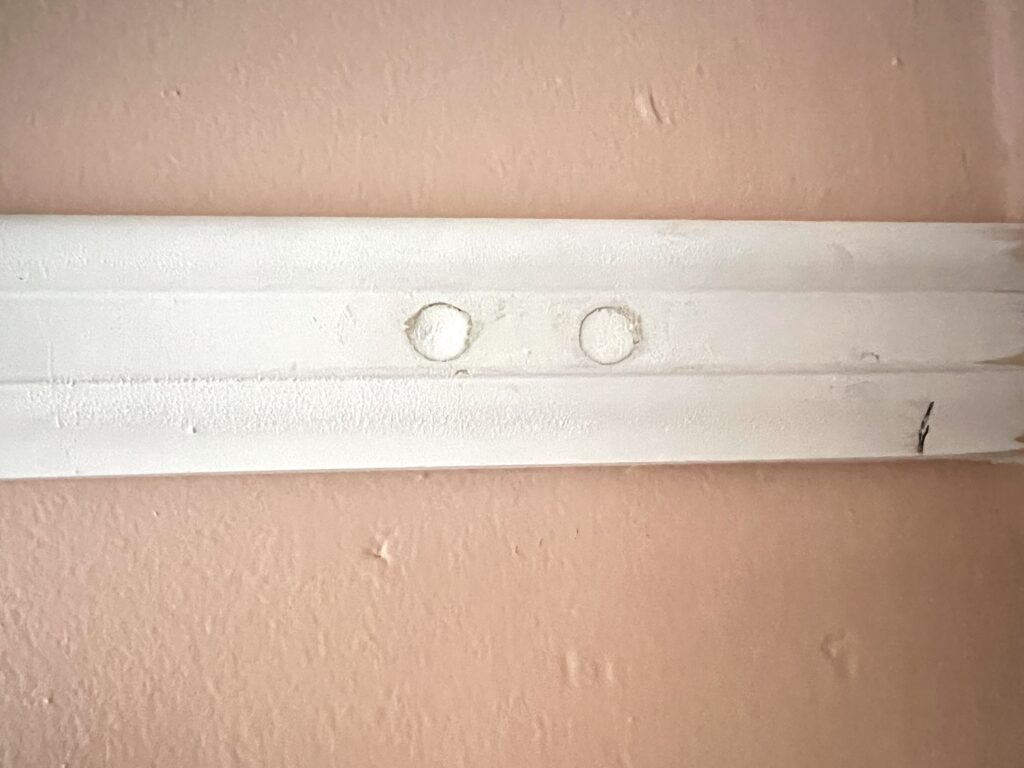
I adjusted the depth on the nail gun and tried again. A bit better, but we needed a new approach. We made all of our cuts and dry fit each piece, then drilled holes through the moldings with a countersink bit. I figured Tapcon masonry screws would do the trick, but they wobbled in the brick and I wasn’t confident they would hold up for years to come. Brandon decided masonry anchors would be the most secure (the plastic ones specifically for brick), and he was right. He drilled pilot holes through each hole on the molding into the plaster and brick, inserted the anchors, and then secured with the masonry screws. There was more patching and filling than I would have liked, but at least we know the molding will stay put for years to come.

With all molding pieces adhered to the walls, we went over each nail and screw hole with putty, then caulked along the bottom seam between the molding and walls. We also caulked along each corner seam and wherever two pieces of molding met. This gives a crisp and seamless appearance once painted. Word to the wise… do not buy clear caulk. In my haste to exit Home Depot as fast as possible, I didn’t check the color I was buying and it proved very difficult to tell where I had caulked once it dried. Palm to forehead. When the putty and caulk had dried, we painted using the leftover paint from the walls. I prefer the color drenched look so the molding looks like it’s part of the wall.
Now we slowly start adding all of the art we have had stored in the basement since we moved. Most already has d-rings attached to the back, so all we have to do is add hanging wire and pop it onto the hooks. It’s such a relief to be able to arrange art and pictures as we please, knowing we won’t damage our plaster walls in the process!

THANK YOU. THANK YOU. THA K YOU for sharing this experience. It is EXACTLY the information I was hoping to find.
John in St. Louis