When we bought our house, we knew the backyard was going to be a big undertaking. It was not conducive for small children, entertaining guests, and overall wasn’t the most pleasant place to hang out. It is heavily shaded thanks to giant old growth oak and hackberry trees, and heavy shade comes with its own set of challenges. In the almost 3 years we’ve lived here we’ve trimmed both trees to keep them healthy and prevent them from hanging over our roof, created perimeter beds filled with hosta (for now), and laid sod to create a small grass area for the kids to play on. The hardscaping was abysmal so we decided 2025 was the year to start this massive undertaking.
Last spring we started exploring our options and got a few quotes for relaying the existing brick patio. (Keep in mind our entire backyard is like a postage stamp.) The first quote was $12,000.00 and the second was $11,000.00. {Insert jaw dropping gif.} We both understand that hardscaping is tough work and labor intensive, hence expensive. But we never dreamed that relaying existing brick would come with that hefty of a price tag. So we resigned ourselves to the fact that this was going to be a DIY project. Yay, manual labor! We used the winter to come up with a plan and hype ourselves up.
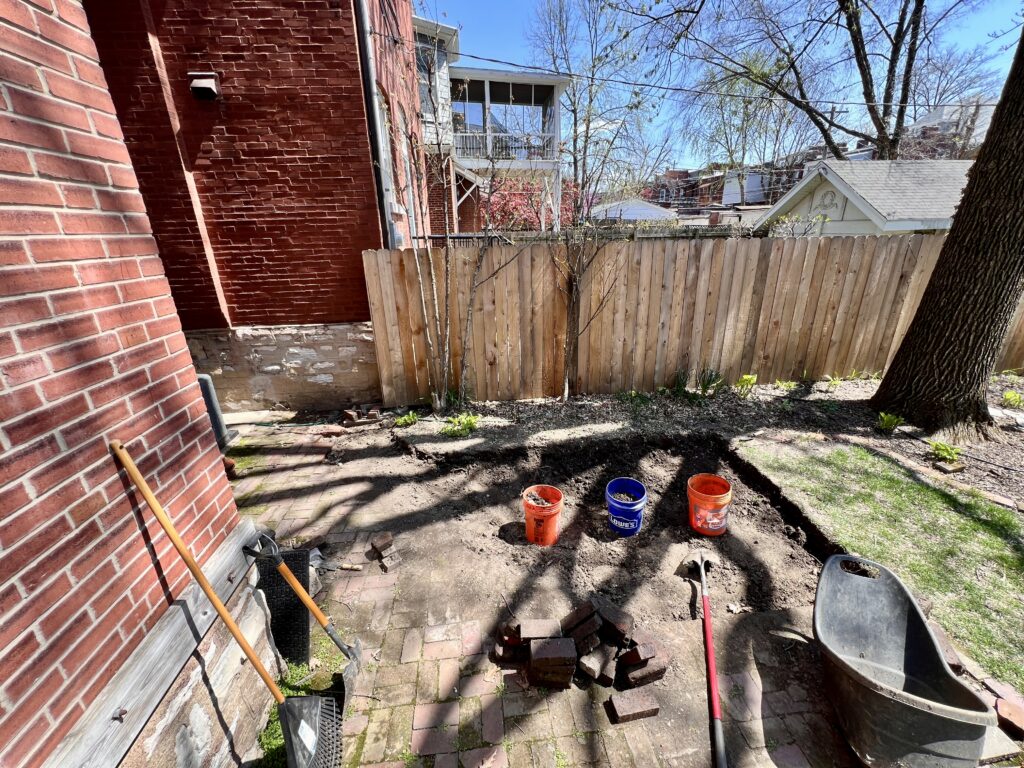
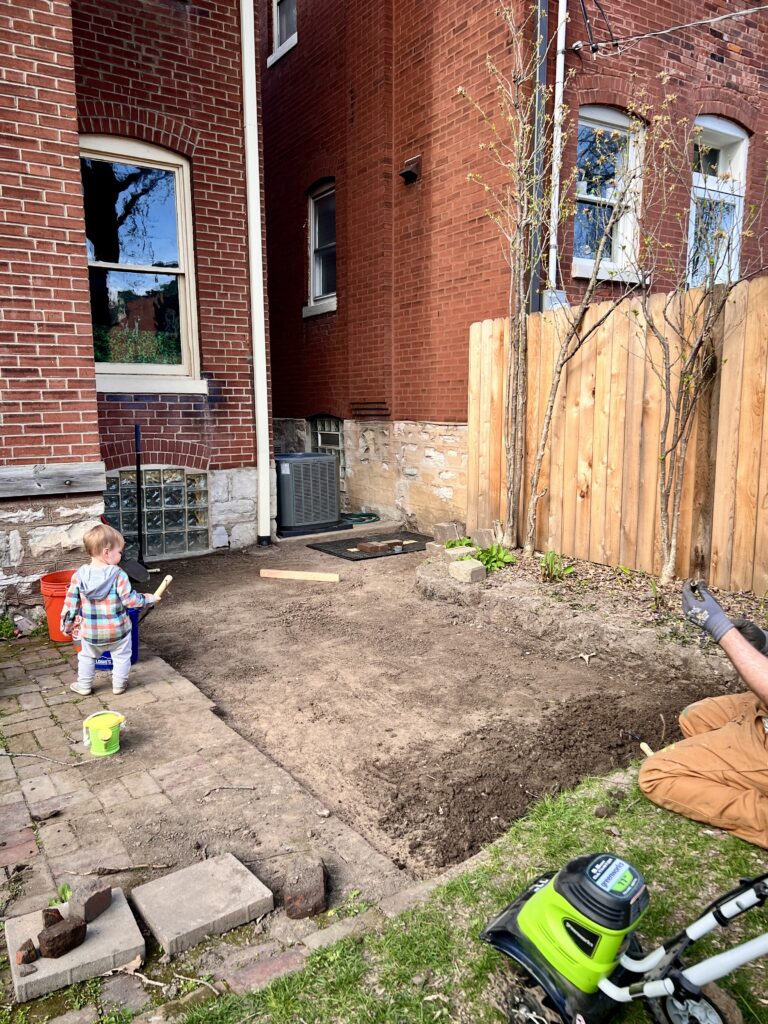
April hits and every year my anxiety shoots through the roof. Why? Because there is a limited window to get outdoor projects started and completed before the intense summer season hits in St. Louis. I became a crazed maniac with only one focus… get phase 1 of this patio completed ASAP. Brandon, in his ever cool and relaxed manner, was not concerned AT ALL with the timeline, and knew we’d get things wrapped up before the heat hit. (He was right.) This is why opposites attract. It also creates conflict when one person has no chill and the other has chill to spare. Our first hurdle was to dig out a large area of arbitrary dirt that seemed to serve no purpose other than eroding mud over the existing patio when it rained.
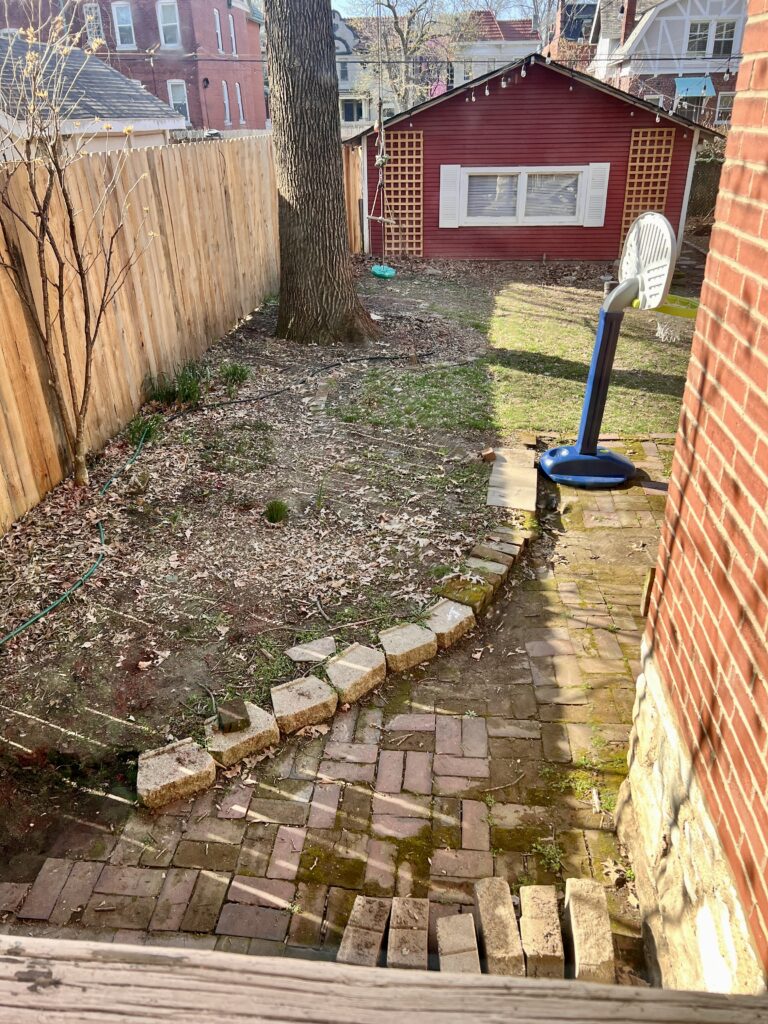
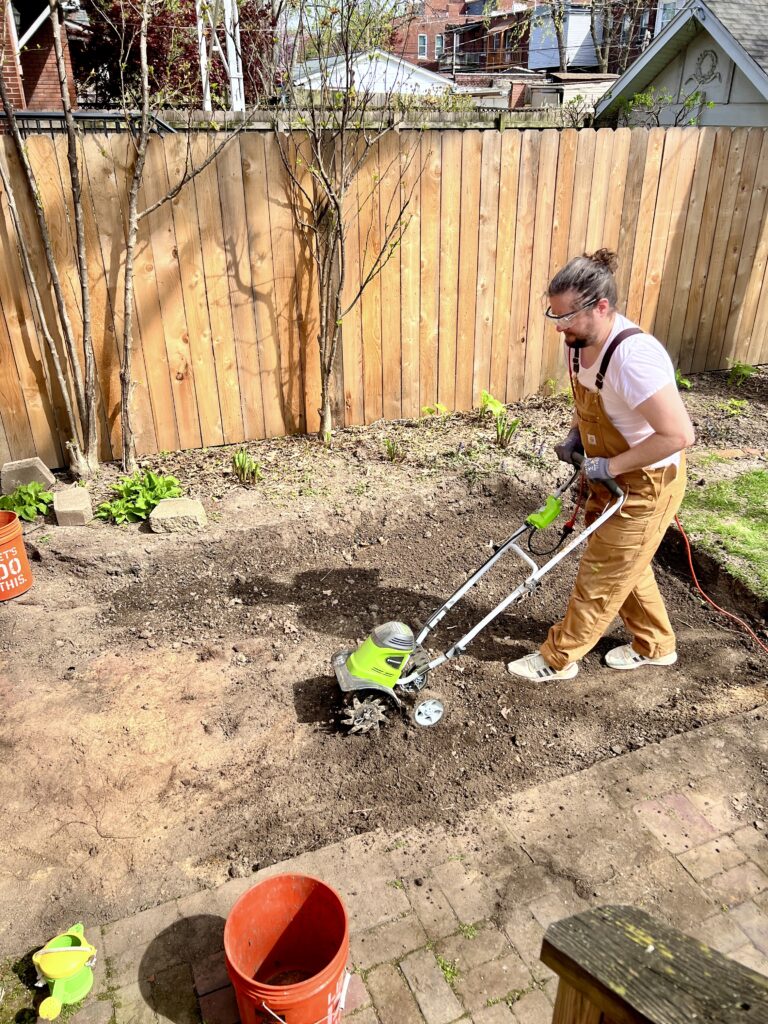
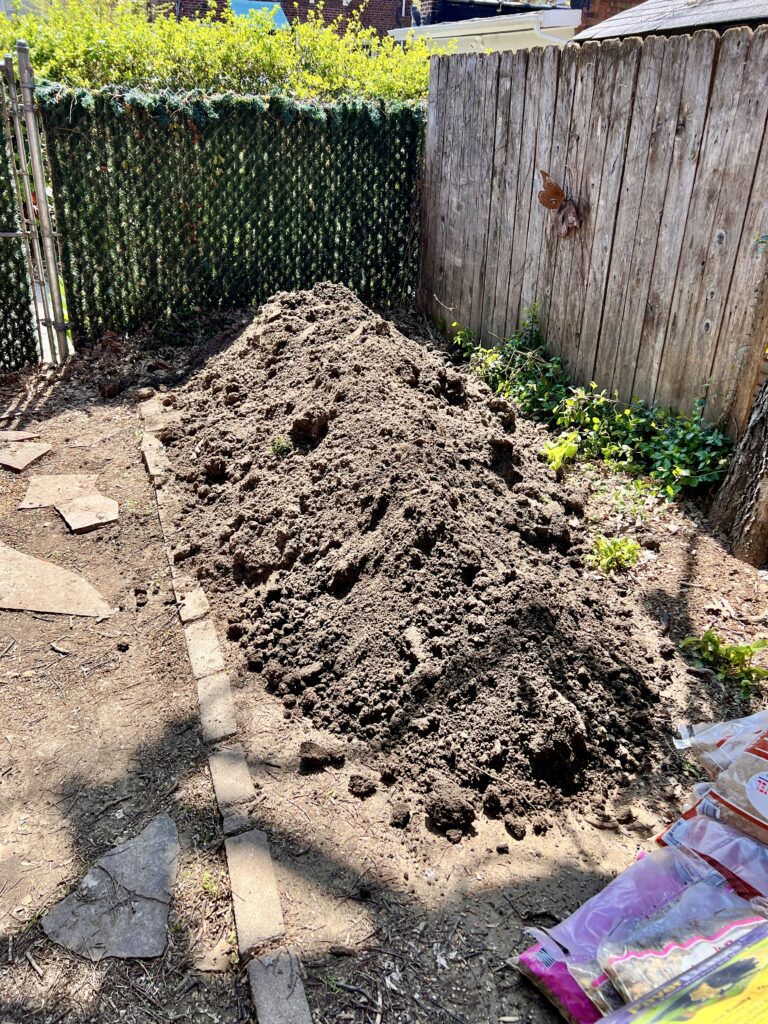
Again, we contemplated hiring someone to dig and haul the dirt away, but in true tight wad fashion we did the work ourselves. I highly recommend using a proper wheel barrow. We had a yard cart and 3 five gallon buckets, and after the 12th load the yard cart’s wheels broke off. 5 gallon buckets are not advisable. Brandon used the electric tiller to break up the compacted soil which made digging a million times easier. We worked in 2 hour increments and finished the dirt removal within about 3 days. Nothing like transferring a pile of dirt from one end of the yard to the next. Thankfully people on marketplace want free dirt, and we were able to get it cleared out.
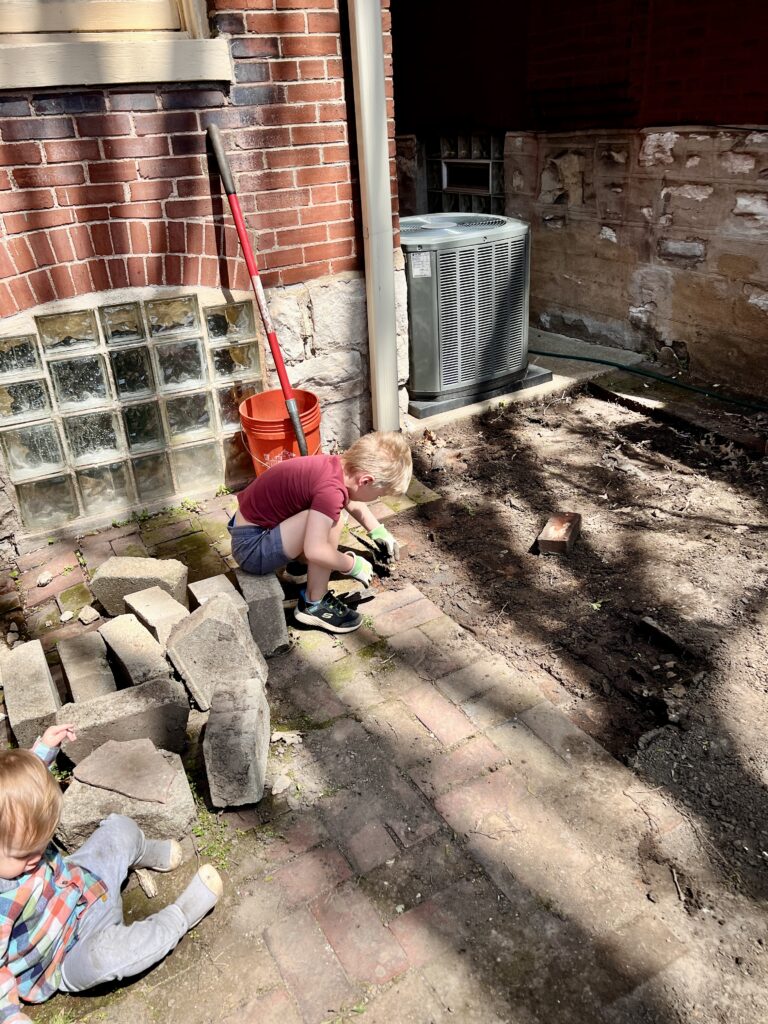
We then employed the help of our 5 year old to clear the area of bricks. There was only so much he was willing to do, but we’ll take the help when we can get it. Our 20 month old was less helpful. He kept busy by rubbing dirt all over himself.
The most challenging part of the whole process is getting the slope correct. We spent hours making sure that water would run away from the house and then down towards the grade of our yard. This requires time and precision. If you get it wrong, it could ruin the integrity of the patio. The desired slope is 1/8 – 1/4 inch per foot. There’s a proven method to achieve this with stakes, string and a hanging level. Did we do all of that? Heck no. At a certain point in every project, my impatience wins out over my desire for perfection. I took a 2×4, set it on the slope every couple of feet or so and placed a level on top to make sure it was going in the direction we wanted. Not accurate, but we’ve had rain since finishing and know that the water drains the way we want it to. After the slope was correct, we took our hand tamping tool and ensure the ground was compacted.
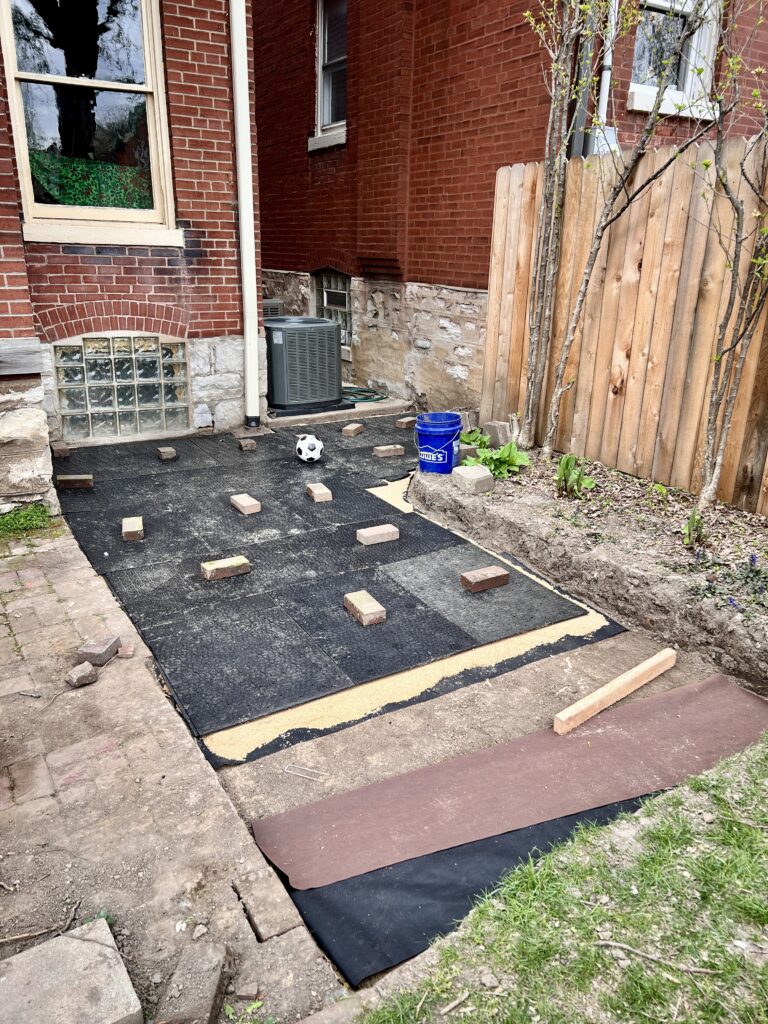
We decided to use Brock Paver Base panels in place of a compacted gravel base for two reasons: time and money. They seemed easy enough, and our friend used them 7 years ago for their patio and confirmed they stand the test of time – at least for 7 years. Home Depot sells 20″x36″ panels, and Lowes sells 24″x36″ panels. I’m not sure why there’s a size discrepancy, but we went with the 24″x36″ size. I believe we used 20 panels for this portion of the patio, which ends up being around $140.00. I did not price out bulk gravel and delivery, but I do know it would be harder on our bodies to go that route. Our process looked like this:
1) Lay out thicker landscaping fabric, making sure to overlap by 3-4 inches and staking in the corners with landscaping stakes. We had a bolt on hand from previous projects, but this would be comparable.
2) Using bagged sand, create a 1/2″ layer evenly over the entire surface the panels will go over. I used the same portion of a 2×4 I used earlier for the slope as a screed, but we were not perfect in this step of the process.
3) Lay the paver panels out, making sure to stager. This will ensure they “lock” in place and prevent them from shifting later on. We put a brick on each panel to keep it in place while it awaited the final brick pattern.
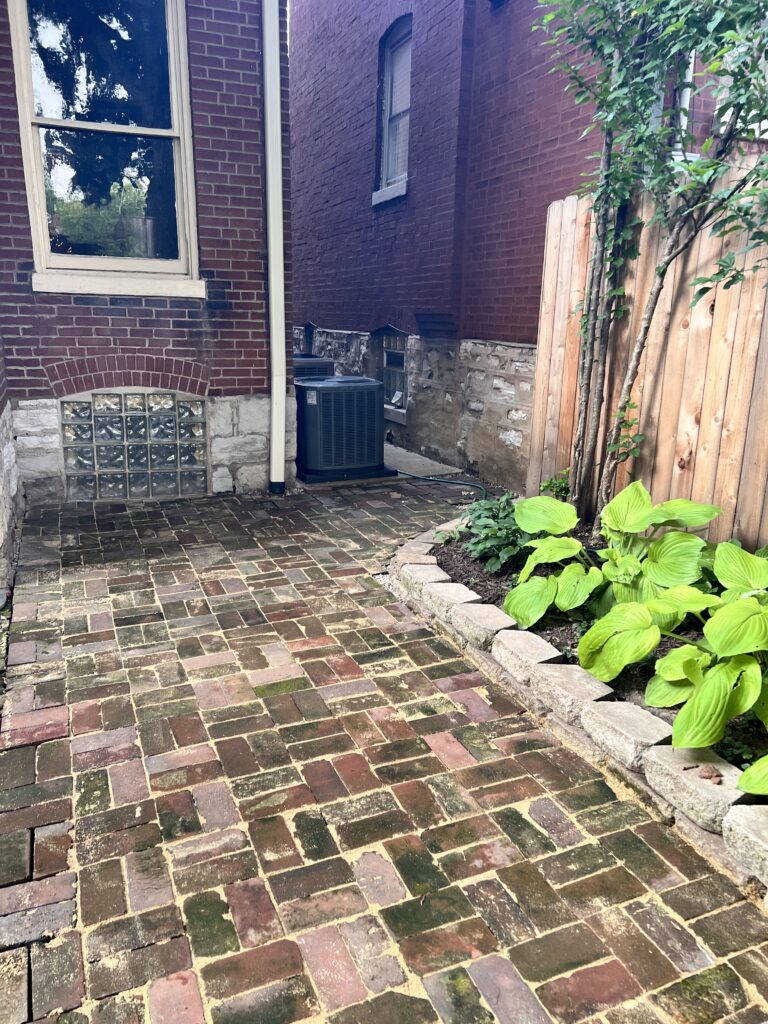
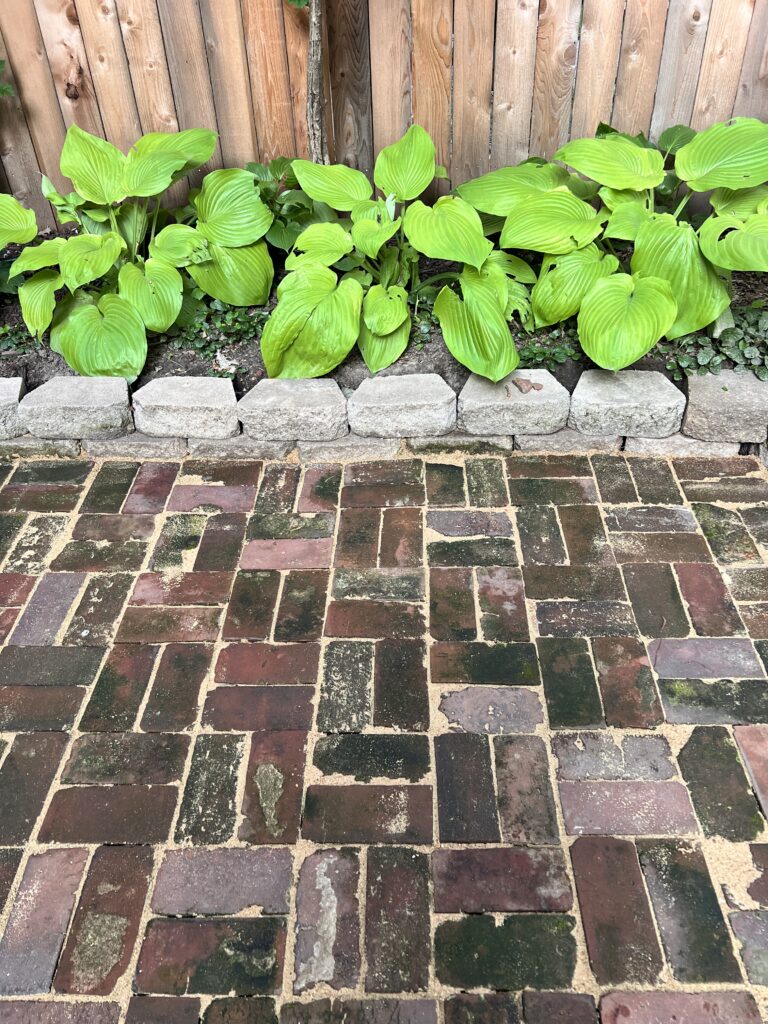
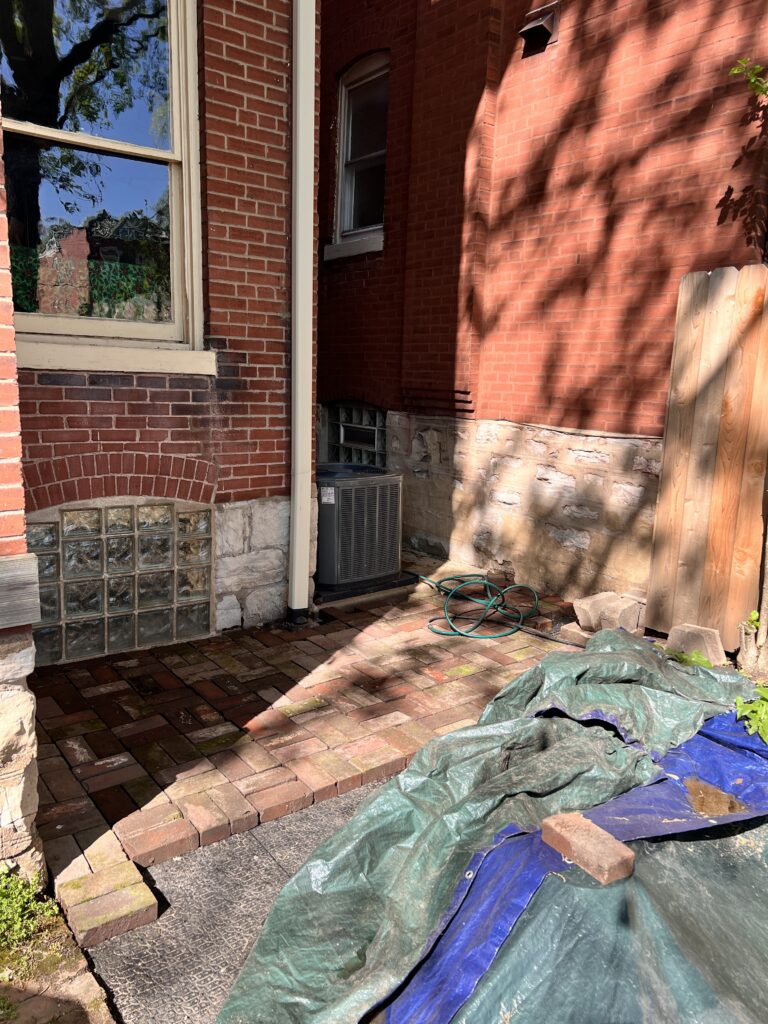
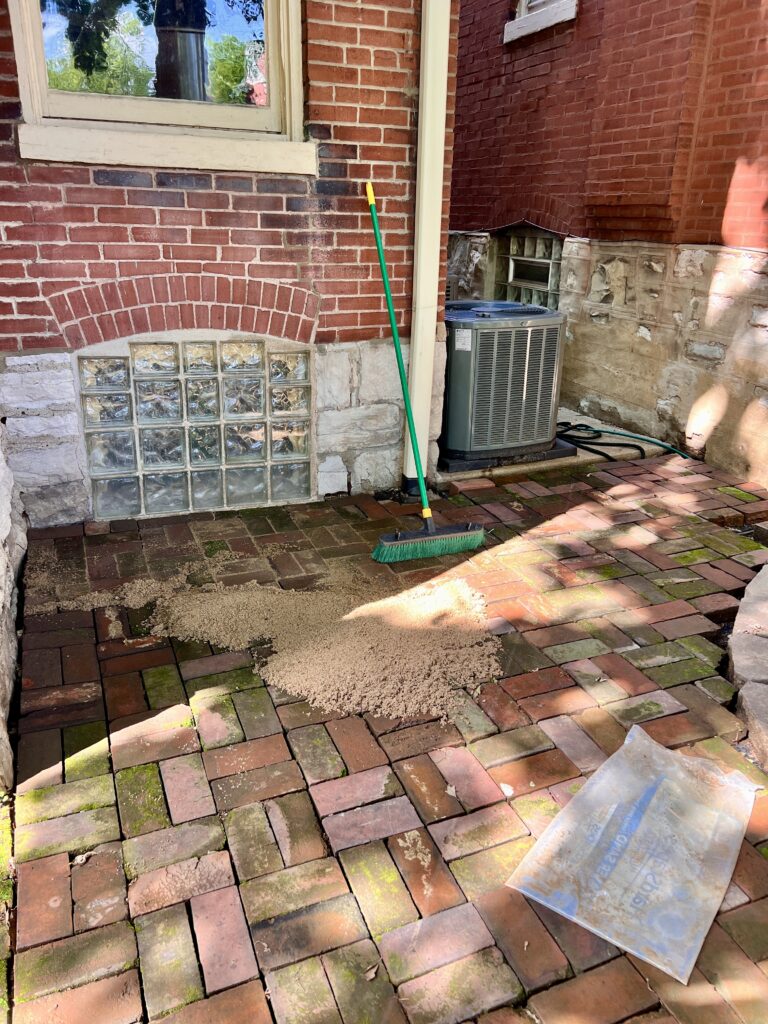
The existing patio is a basket weave pattern, and while I love the look of herringbone, basket weave is easy and requires no trimming or cutting. I started in the corner of the house next to the glass block window above and worked my way out. This process was done over a few weeks, in few hour increments when I had the time. We reused the brick we pulled up from the original patio, and supplemented the new surface area with bricks our neighbor gave us. Once the entire pattern was laid, I used the same leveling sand to fill in between the cracks for stabilization. The first bag I used was damp from being bagged and was very difficult to sweep. I let the remaining bags dry out for a few hours before pushing around and it was infinitely easier to work with. We could still use another bag to fill in completely, but it’s stable if we delay doing so. I also used small river rock to fill in around the downspout and the small gap between the bricks and our neighbors house.
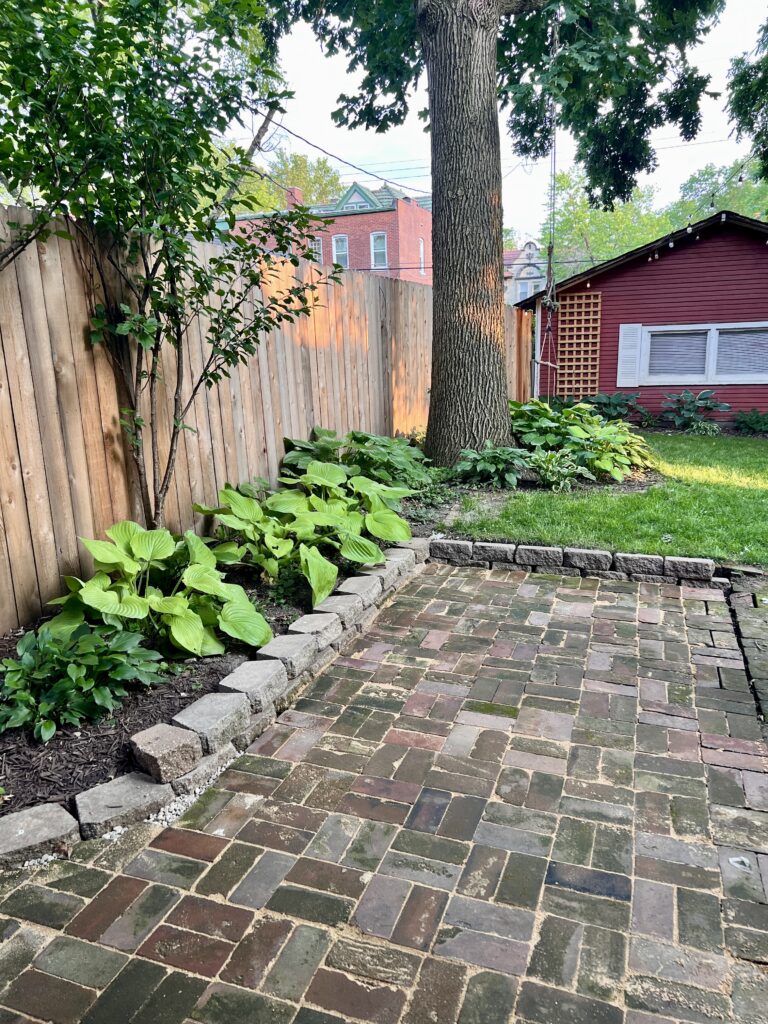
We honestly can’t believe how such a small area has dramatically changed the look and feel of our back yard. We love spending time out there now, and are excited to get phase 2 completed so our hardscaping is finished!